|
|
|
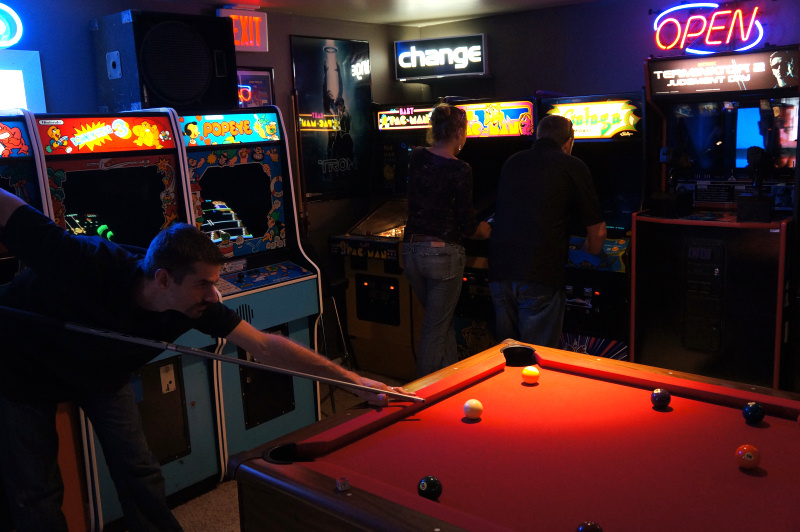
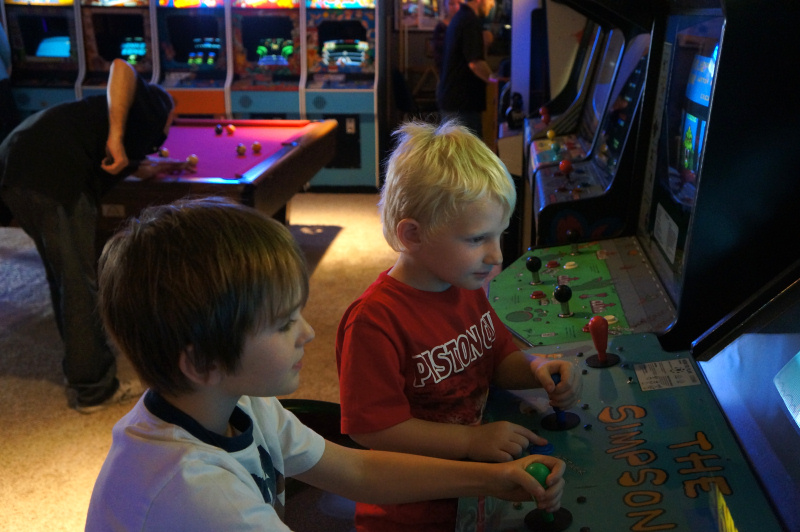
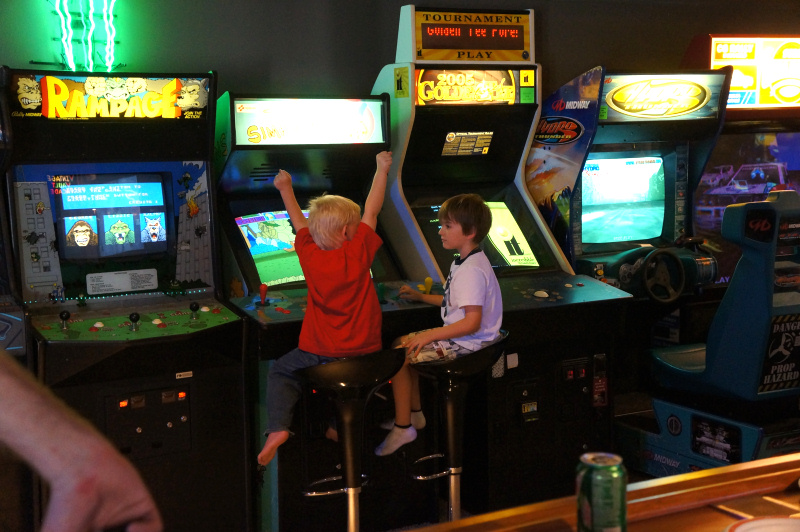
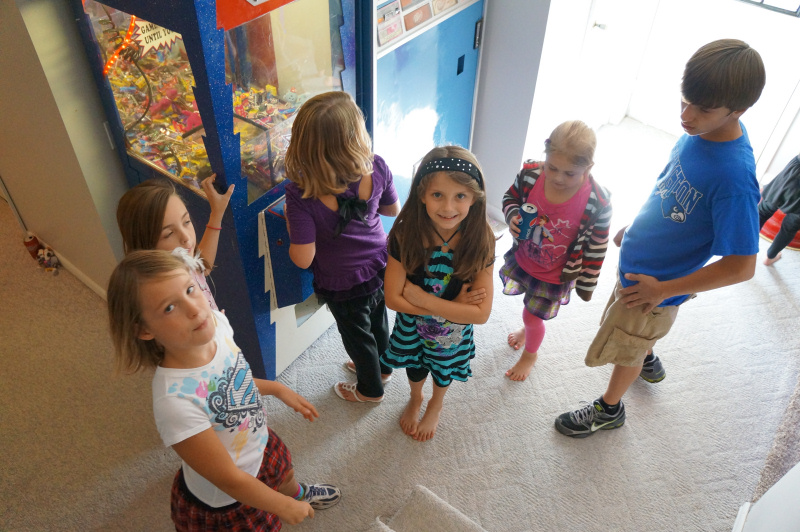
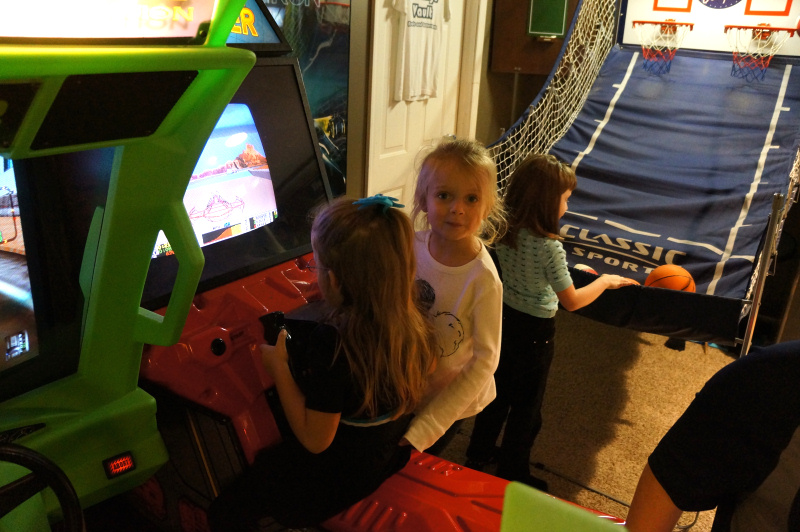
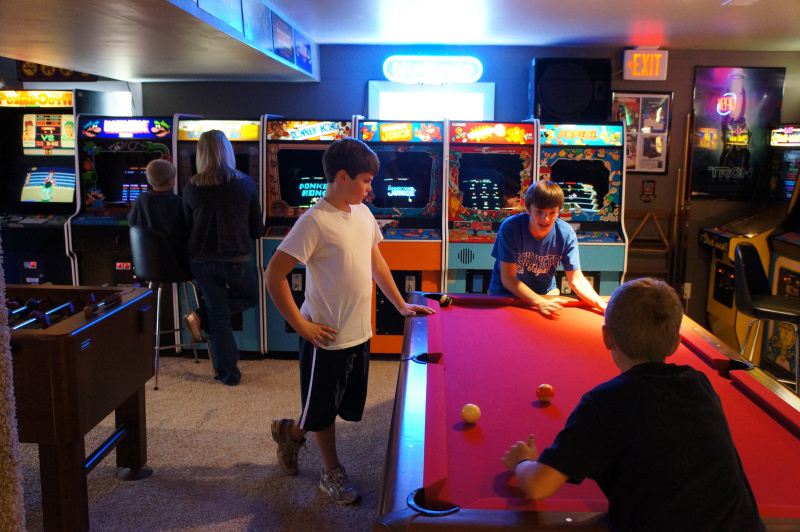
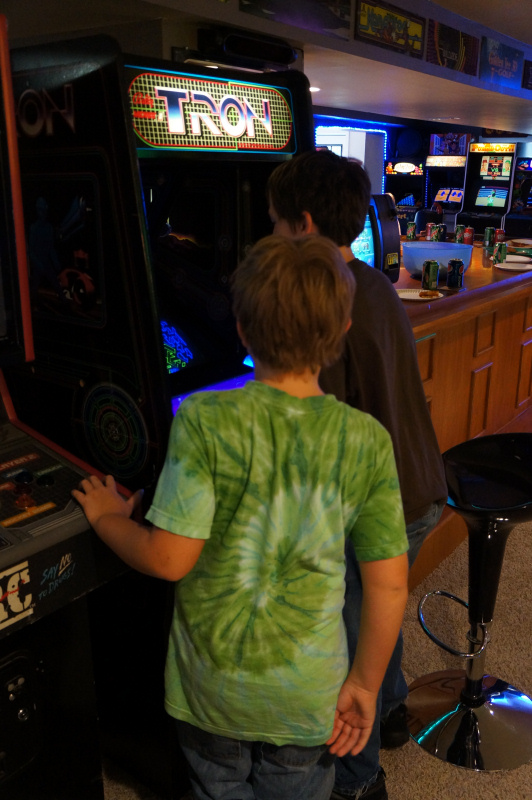
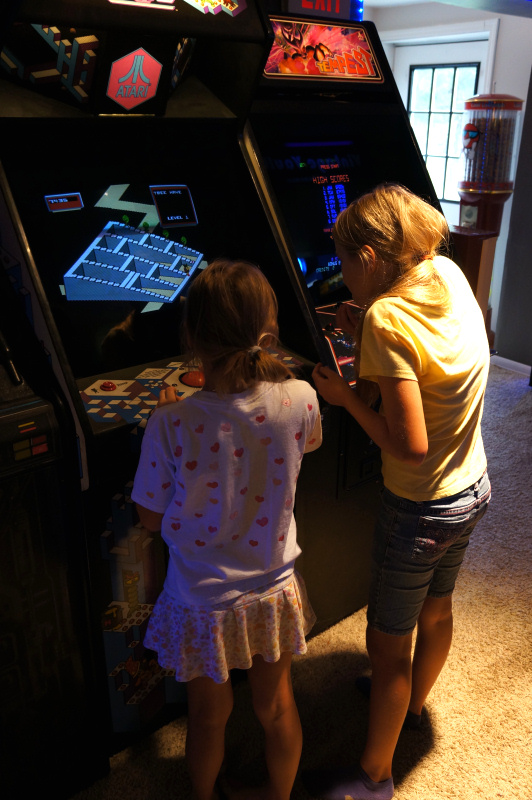
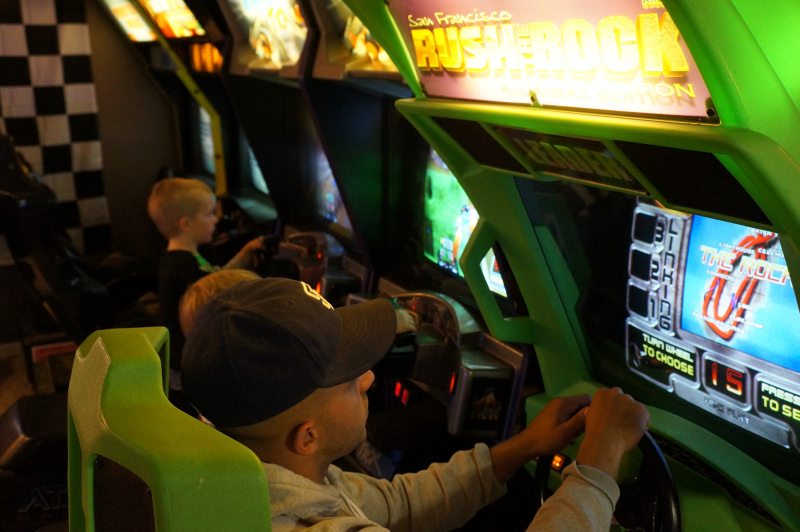
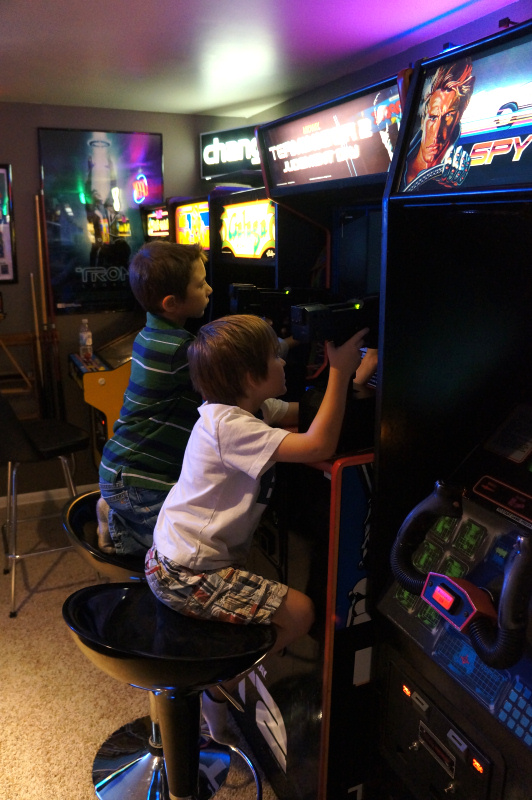
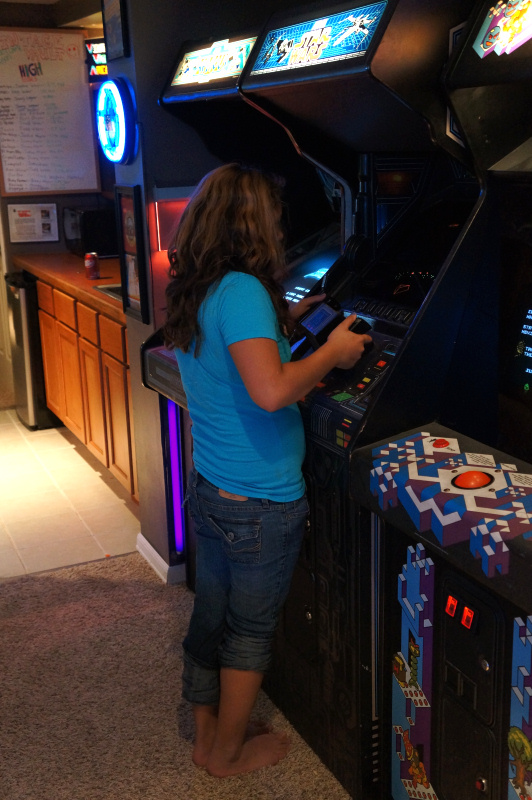
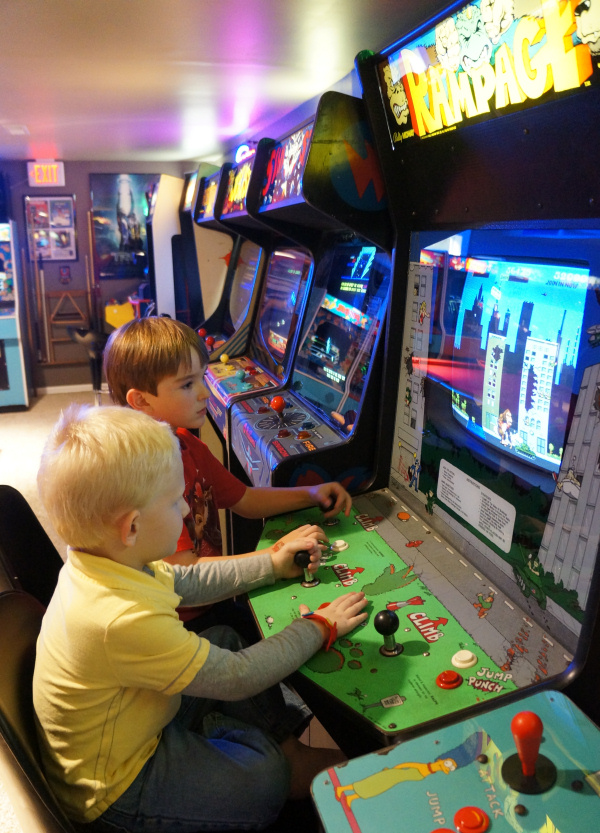 My youngest boy just turned 4 years old this last weekend. Other than cake, ice cream and presents, the main thing he wanted
to do was play in the arcade with his friends. I must say, that's my boy. In the pictures below, he is in the yellow shirt.
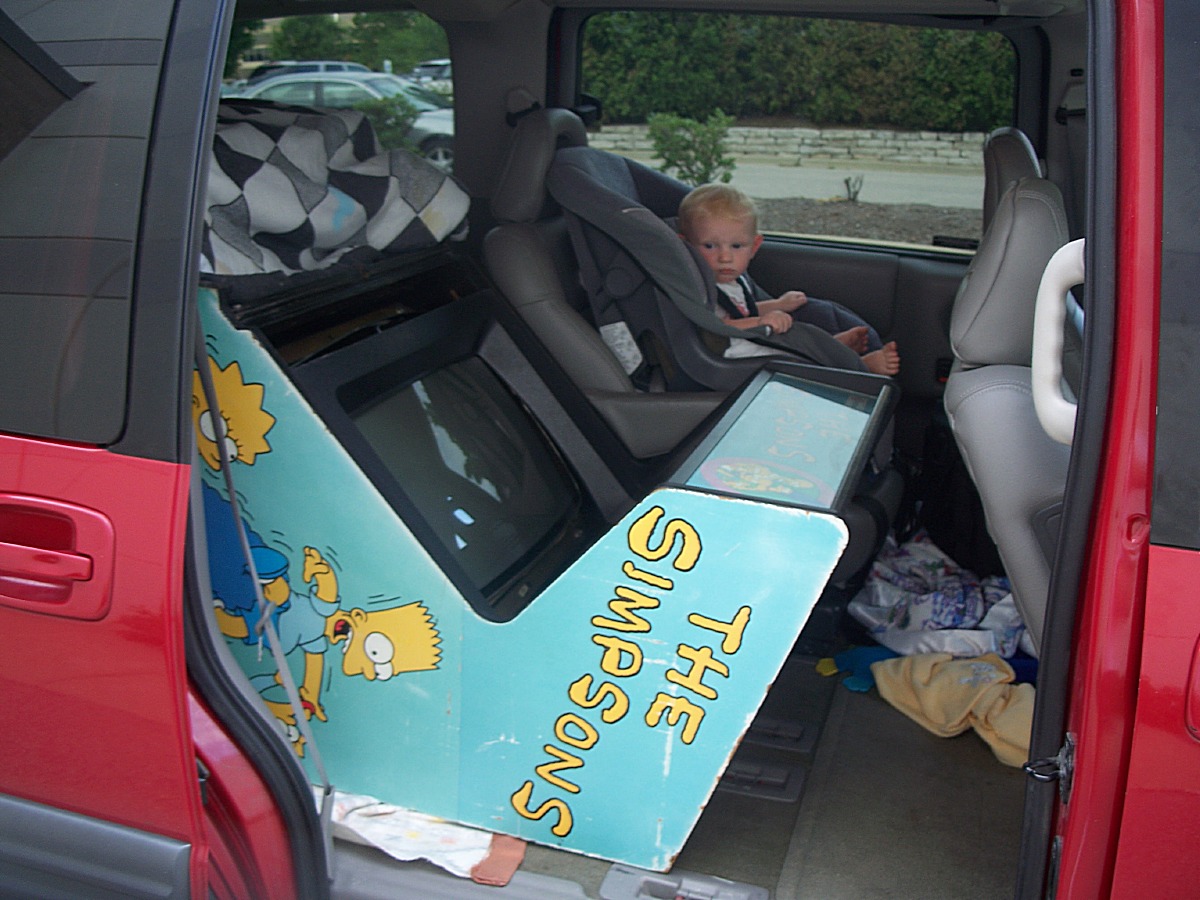
In honor of his birthday, I am posting a few links of the many game runs he went with me as a baby, including a 6 hour
one way trip up to Chicago to pickup a Simpsons game. Happy Birthday Isaac!
My youngest boy just turned 4 years old this last weekend. Other than cake, ice cream and presents, the main thing he wanted
to do was play in the arcade with his friends. I must say, that's my boy. In the pictures below, he is in the yellow shirt.
In honor of his birthday, I am posting a few links of the many game runs he went with me as a baby, including a 6 hour
one way trip up to Chicago to pickup a Simpsons game. Happy Birthday Isaac!
Click here to read about the Simpsons road trip.
Click here to read about the Ms. Pacman pickup.

|
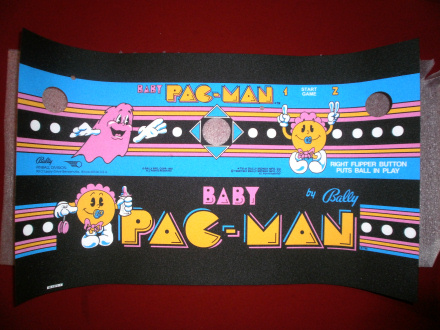
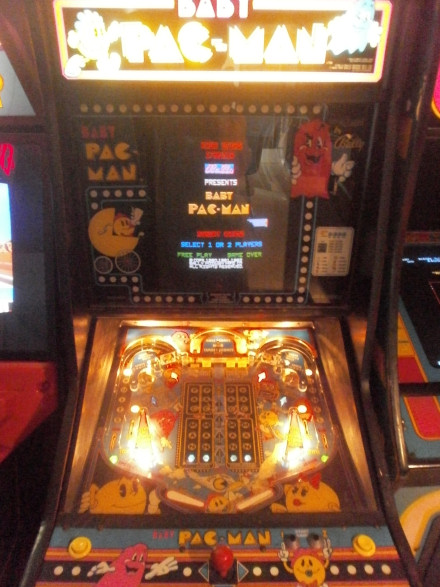
 I like my Baby pacman. This is one rare game, that you just don't see much of anymore, especially working. I recently went through and fixed up
a bunch of bulb problems as well as fixed a sound issue with the game. This game was certainly all lit up and beautiful. One thing that now stood out
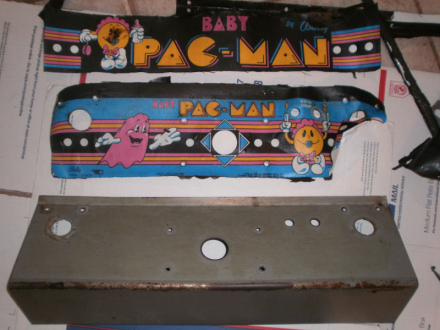
on the game since I had it fixed up nicely, was the control panel on the game was torn in a bunch of places.
I like my Baby pacman. This is one rare game, that you just don't see much of anymore, especially working. I recently went through and fixed up
a bunch of bulb problems as well as fixed a sound issue with the game. This game was certainly all lit up and beautiful. One thing that now stood out
on the game since I had it fixed up nicely, was the control panel on the game was torn in a bunch of places.
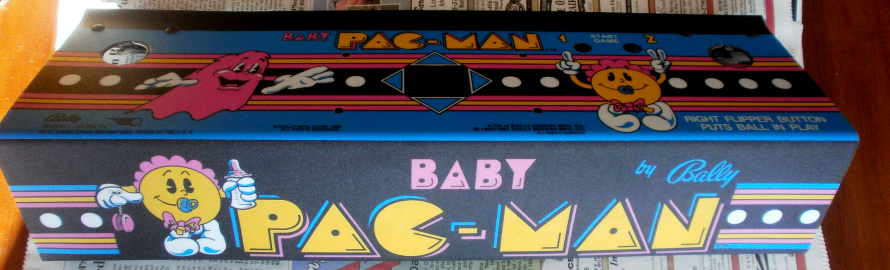
I figured since I was giving this game the royal treatment, why stop with some minor repairs? I went ahead and ordered a reproduction control panel
overlay for my Baby Pacman. The reproduction I received in the mail was picture perfect, and felt like the original material also. Now the biggest issue
I have had in the past with putting on new control panel overlays is removing the old one. We are talking 30 years of hardened sticky glue, and these
things were made NOT to come off.
Thanks to the online collecting community, I learned a little trick that I was going to try for the first time. Here are the steps.
1. Preheat oven to 500 degrees.
2. Put control panel in for 2 to 3 minutes.
3. Watch the control panel overlay peel off!
This my friends, was the most useful trick for these games I have ever learned in my life. The old panel peeled off while still in the oven. What was left, came off
as easy as a banana skin. Not only that, but most of it came off in one solid piece, instead of the usual 100 tiny pieces that you spend an hour picking off.
After I cleaned off some of the glue, I applied the new overlay and let it sit overnight. The next day I put the buttons and joystick back on it and
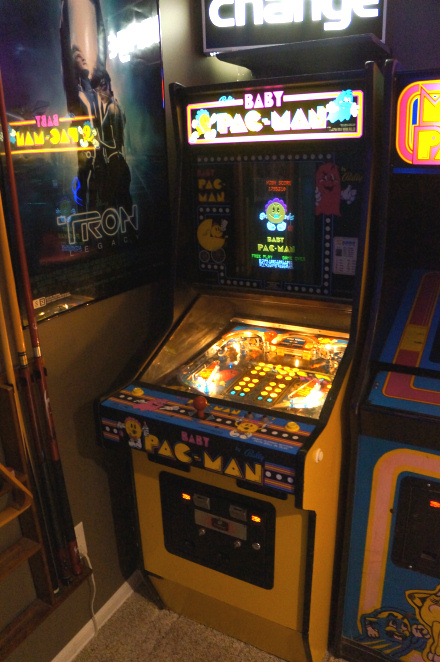
then installed the control panel back onto the Baby Pacman. The result was amazing. For the most part, this Baby Pacman is now looking factory fresh.
Some people don't put baby in the corner, I think it's a place of honor for this beauty!
|
|
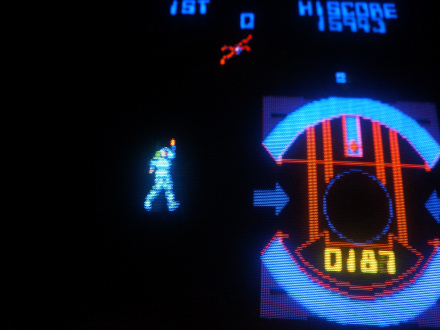
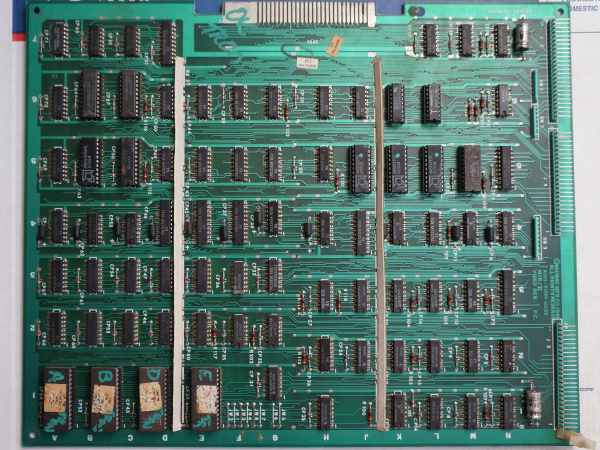 With my recent pickup of a HUO Tron, came a grid bug glitch. Tron fans will get that. The grid bugs, Tron character and MCP cone had faint horizontal lines
running through them. This did not affect the gameplay at all. Tron is a 3 board set, so I reseated all the socketed chips on the MCRII video generator board as
well as swapped connector cables.
With my recent pickup of a HUO Tron, came a grid bug glitch. Tron fans will get that. The grid bugs, Tron character and MCP cone had faint horizontal lines
running through them. This did not affect the gameplay at all. Tron is a 3 board set, so I reseated all the socketed chips on the MCRII video generator board as
well as swapped connector cables.
This didn't clear up the problem. That means more than likely there was a bad bit line in a ROM or RAM causing a few faint lines
in some characters.
Rather than buying and swapping ROMs and RAMs one at a time, I managed to pick up an untested Tron video gen board fairly cheap on Ebay.
I was going to use it as a parts board, but after throwing it in my Tron all graphics came up perfect. No more glitches. Now I still have my original board
as a spare parts board. Thanks random ebay guy and thank
you Tron for making all my childhood memories come alive.
|
|
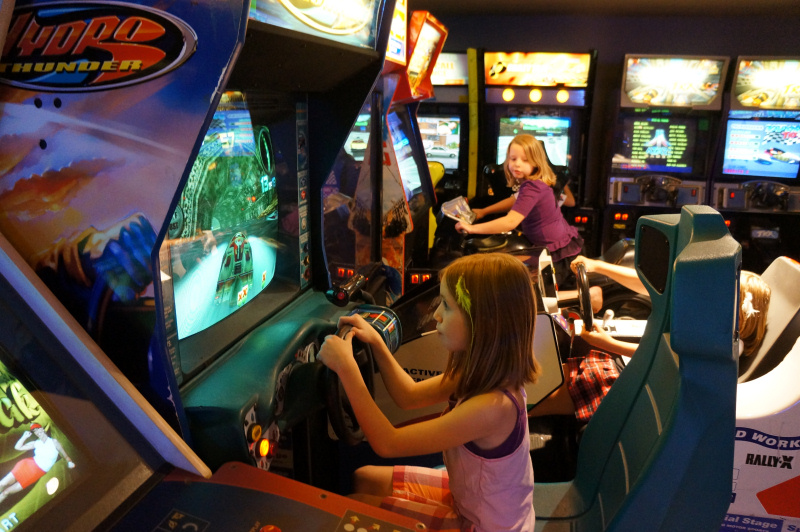
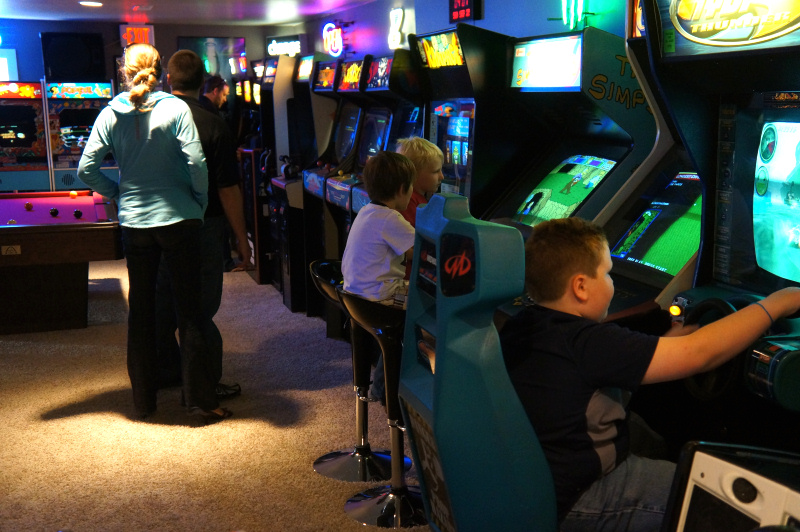
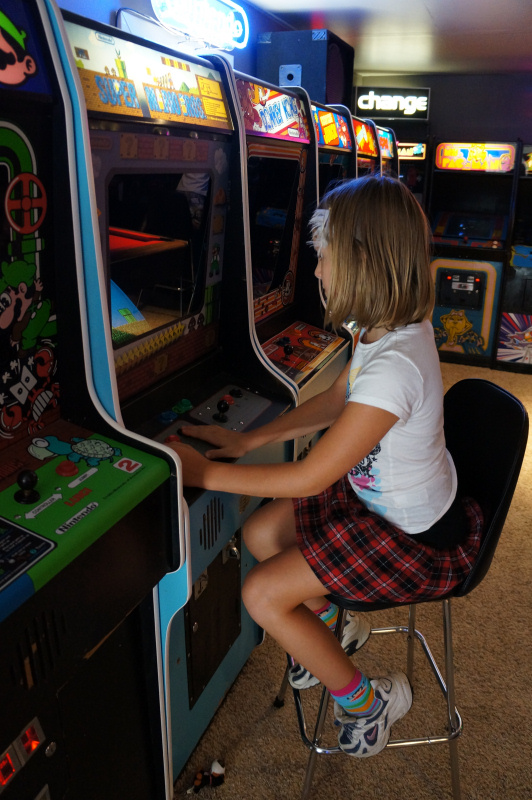
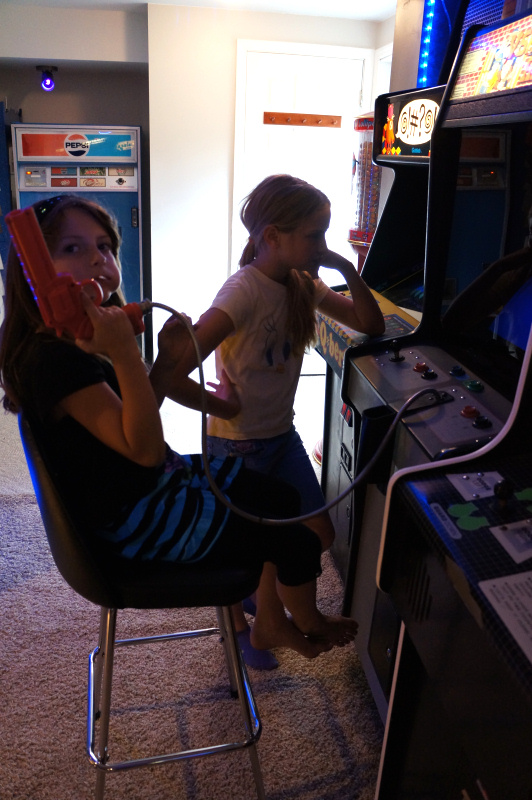
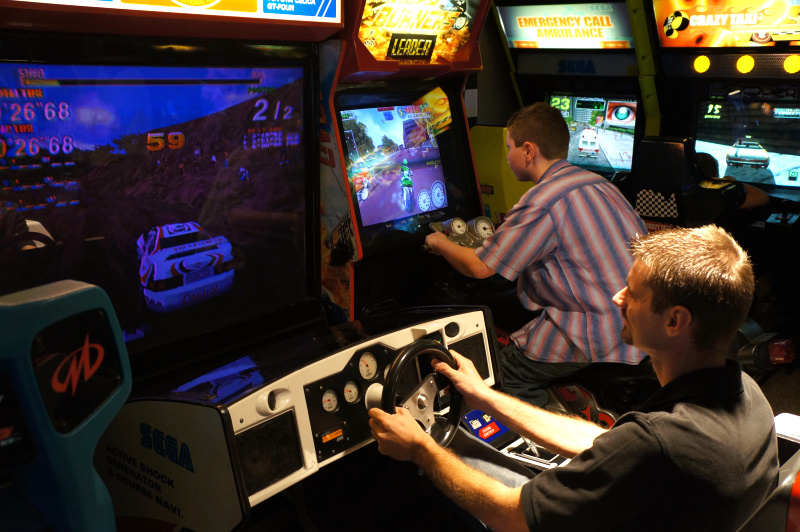
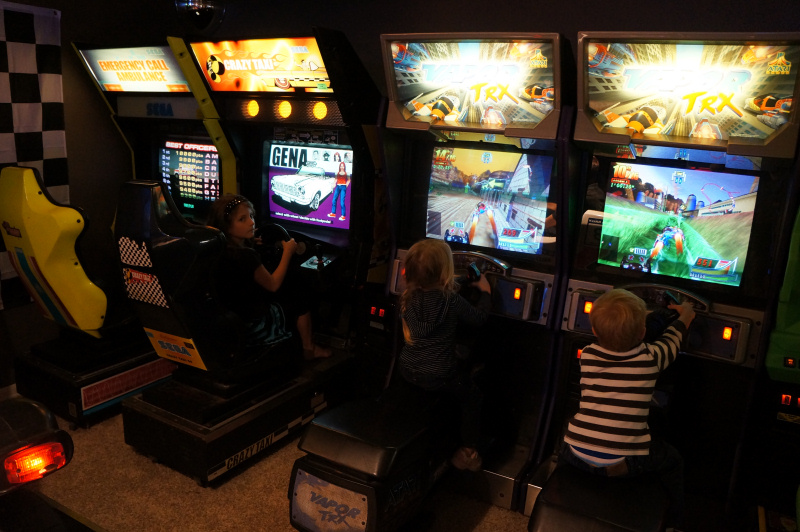
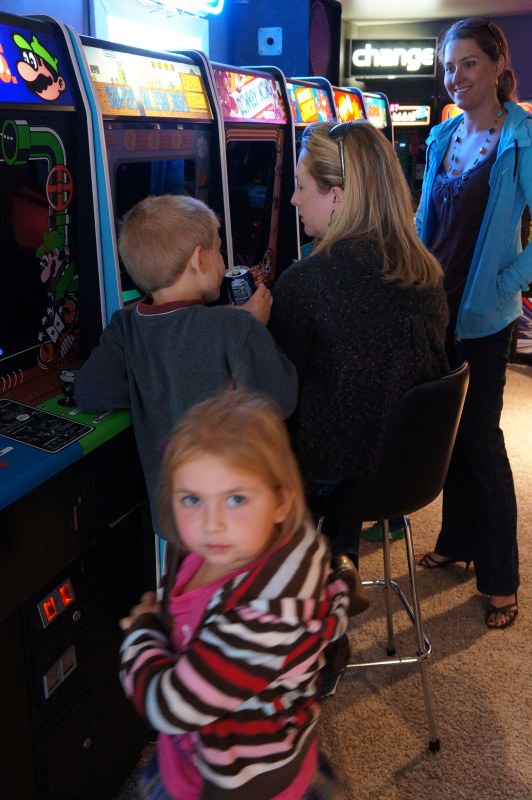
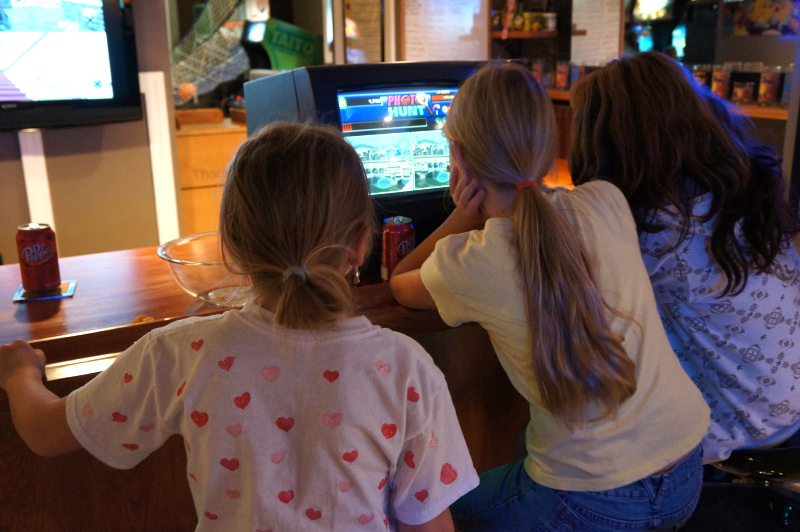
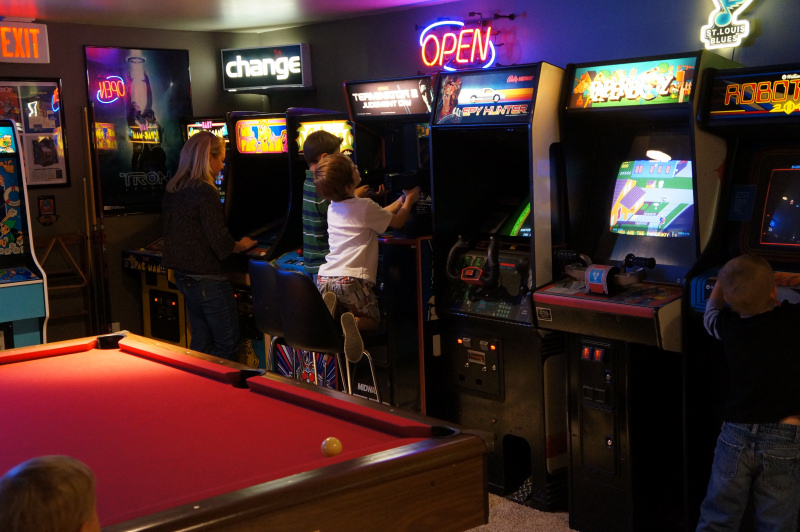
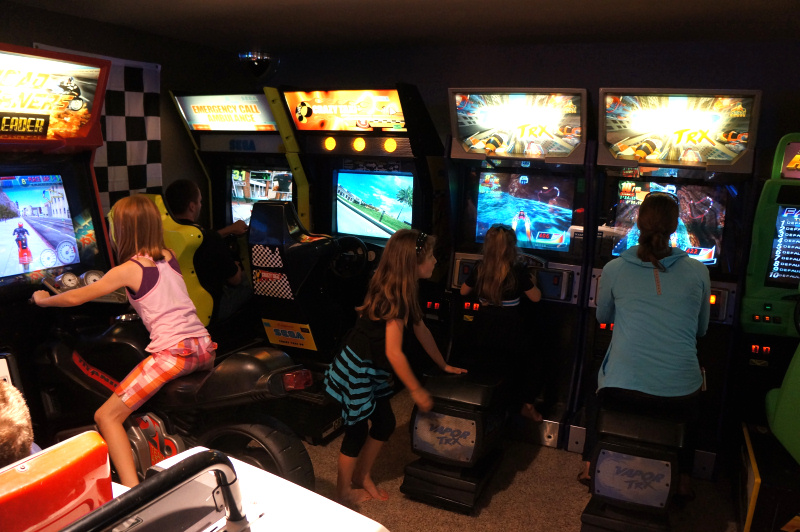
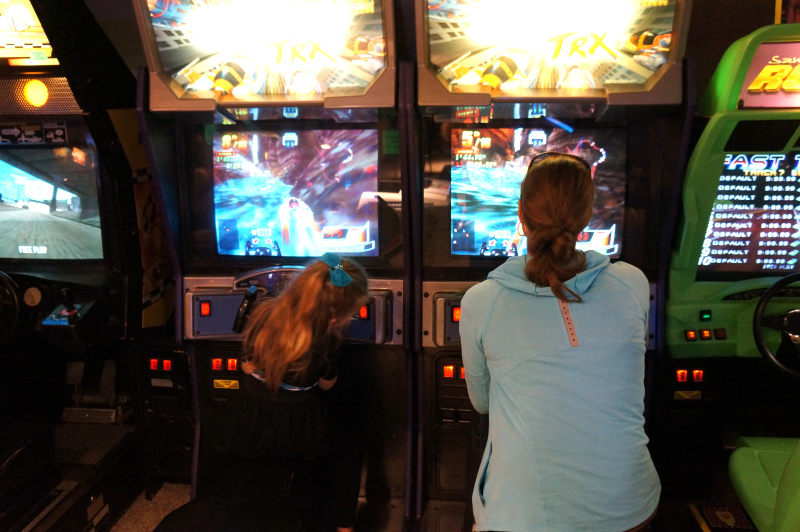
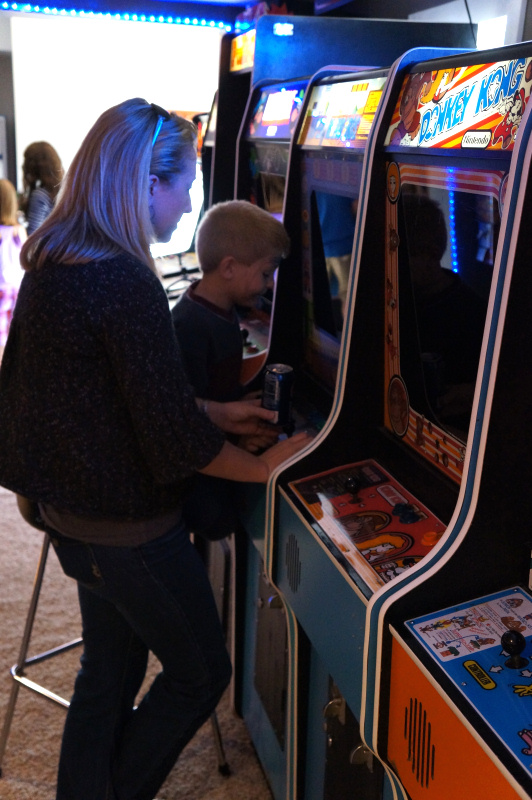
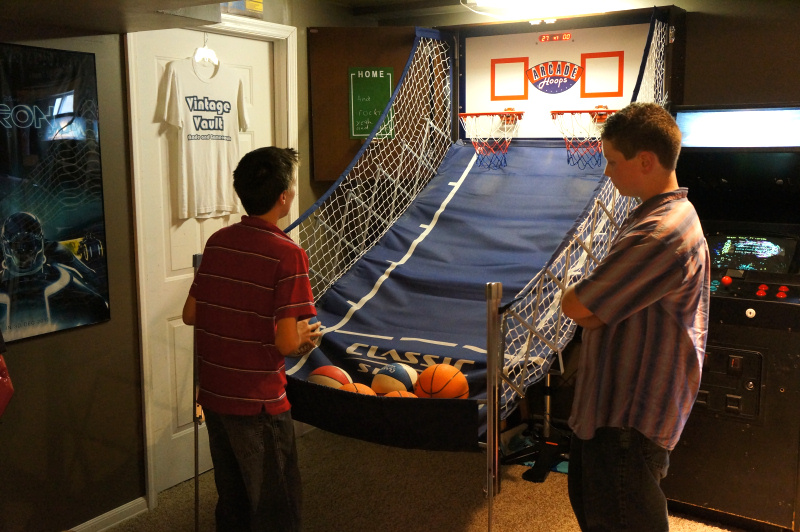
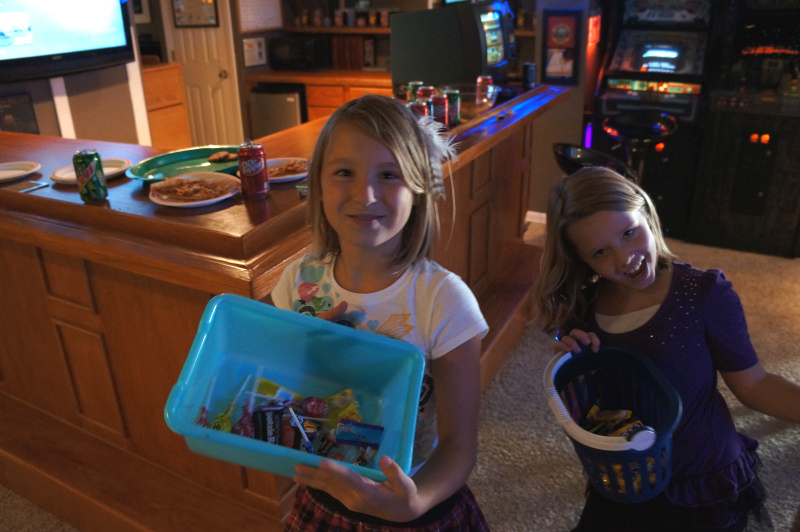
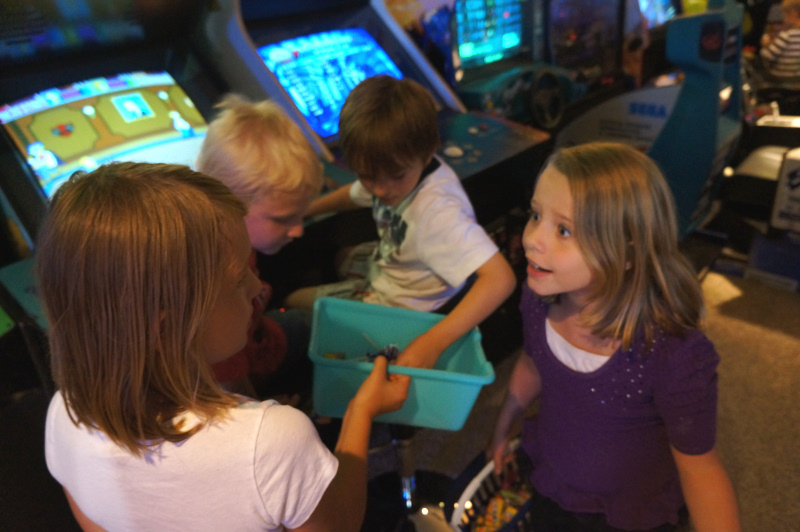
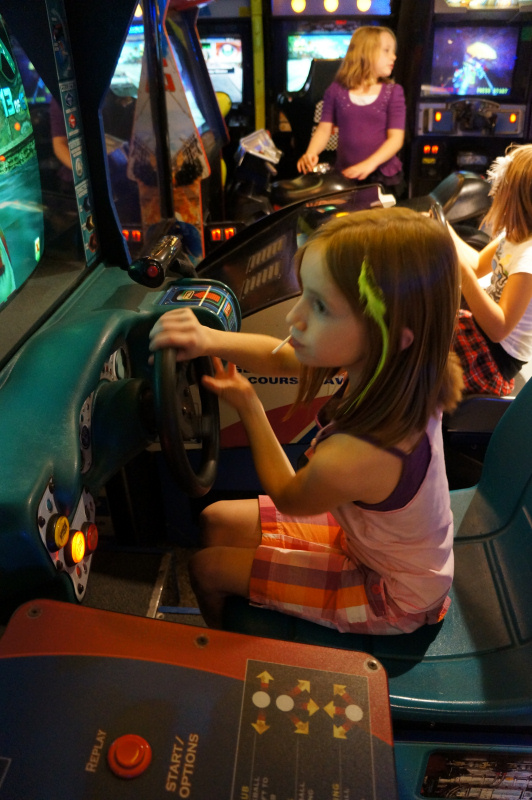
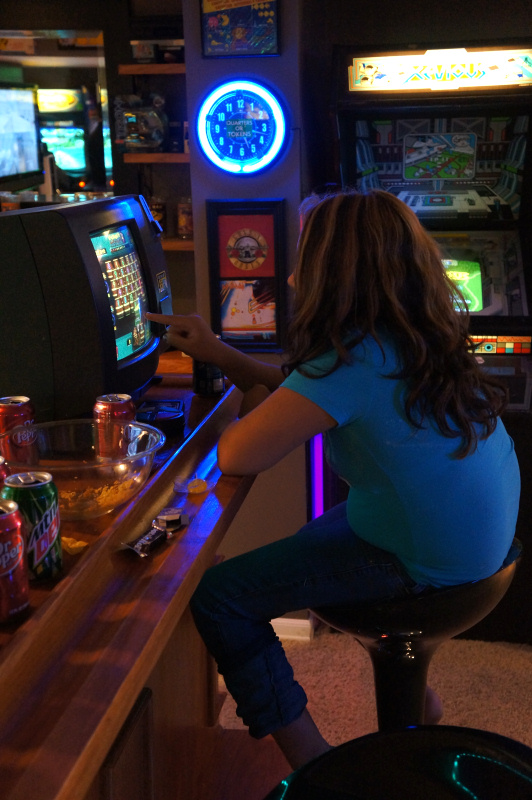
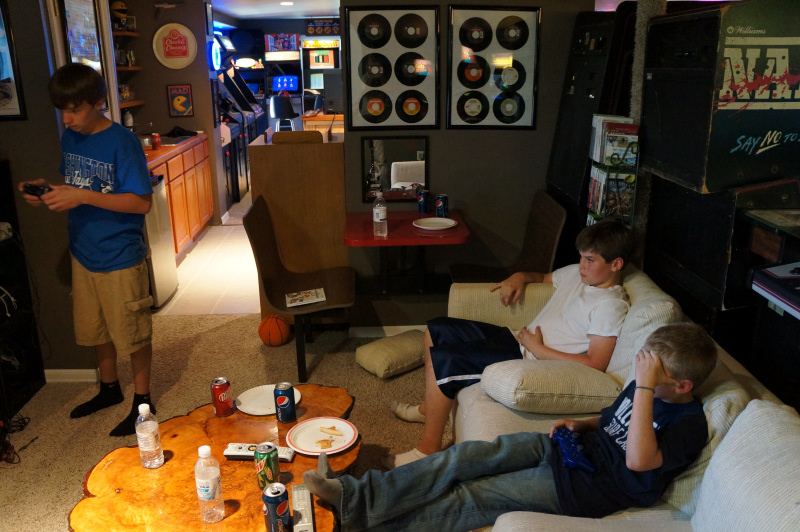
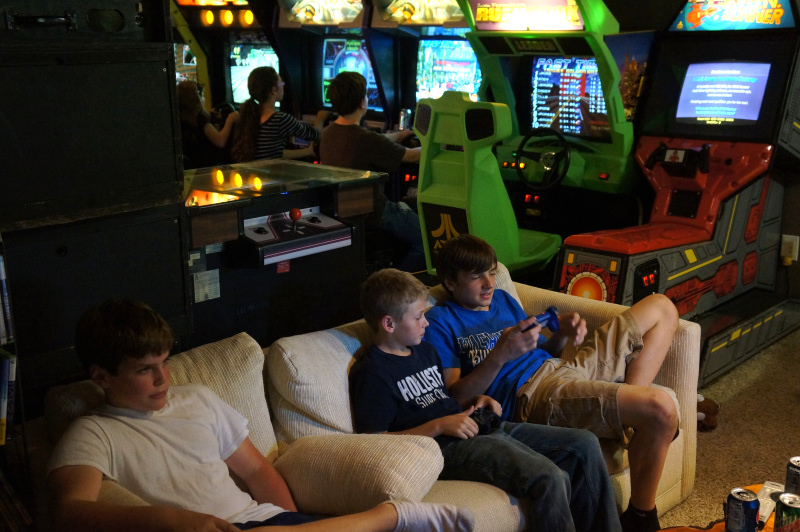
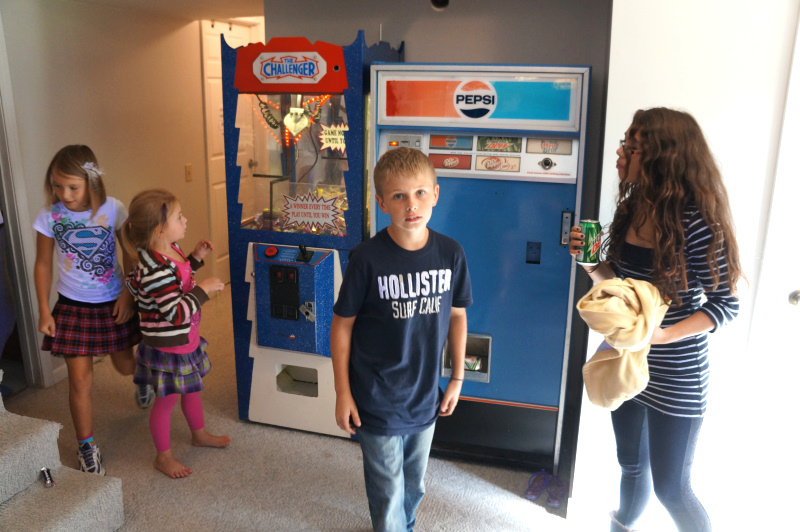
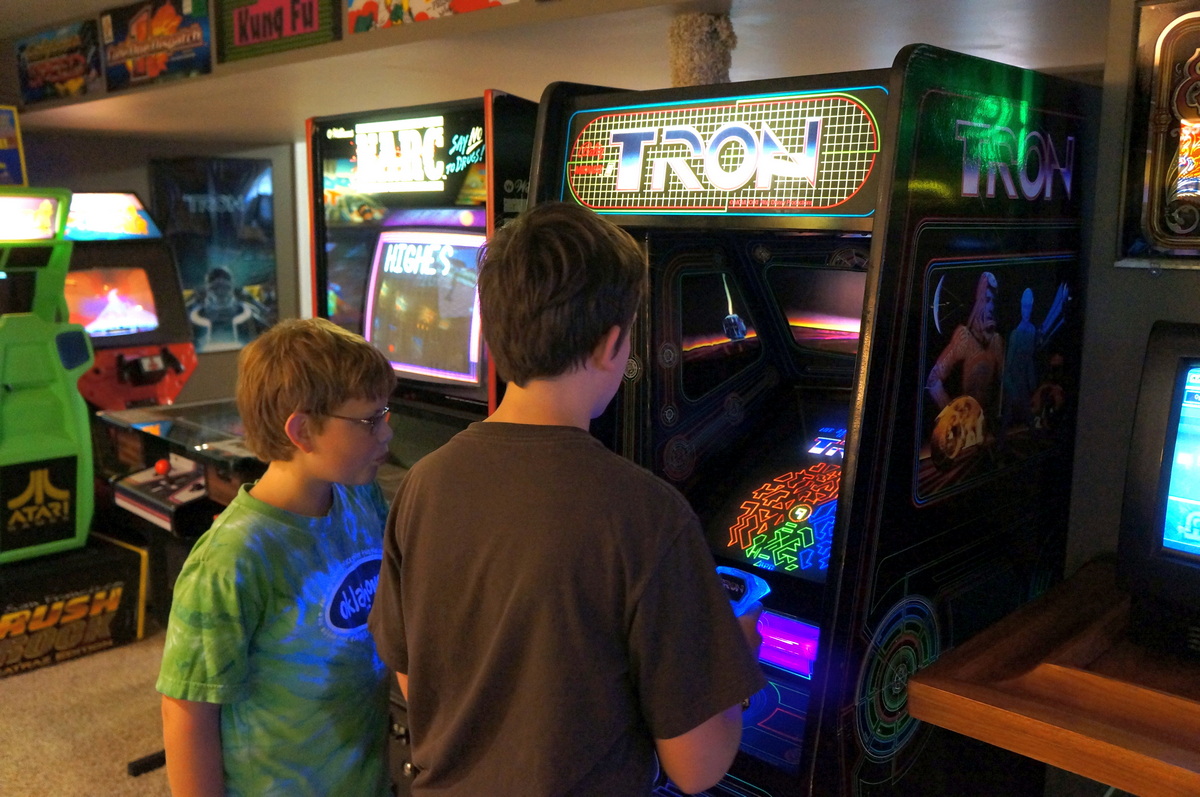
For those that might not know I am a childrens pastor. It was time to have another church gameday at the Vintage Vault Arcade
and Gameroom. Altogether we had a crowd of over 40 people. The younger girls emptied two thirds of my candy crane
machine in 2 hours and I finally had to shut it off. Nothing broke down and my new Tron made its first public
appearance. Baby Pacman surprisingly gots tons of play (possibly because I just fixed the unlit lamps from bad
transistors), and the touchscreens always had someone on them. Simpsons and Road Burners were also the top *free*
earners of the day. We ordered 10 pizzas and they drained the soda machine of about 150 cans of soda. This was on top
of candy, cookies and chips. WOW. Enjoy the pictures, they certainly enjoyed the games!
|
|
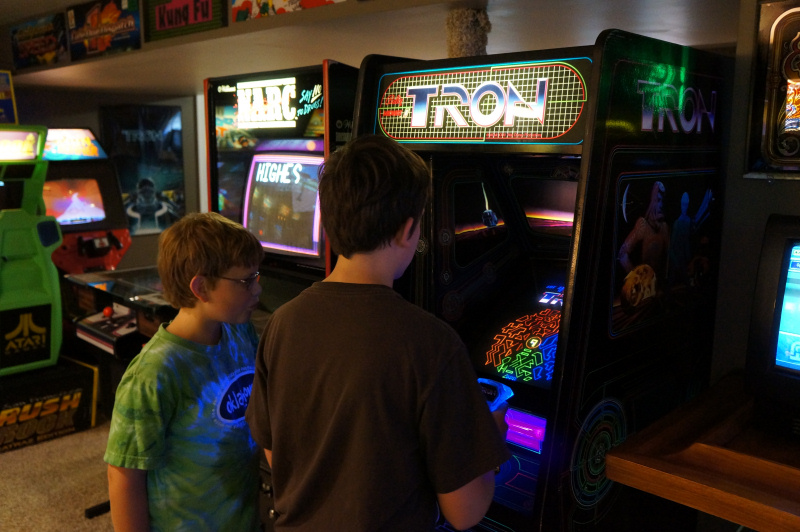
 Now if you have never seen the movie Tron or Tron: Legacy, don't even finish reading this web page. Drop what you are doing,
and watch the movies on Netflix, rent them from Redbox, or go buy them on Amazon. NOW. When finished, then come back and read
this so you can TRULY appreciate what I have here.
Now if you have never seen the movie Tron or Tron: Legacy, don't even finish reading this web page. Drop what you are doing,
and watch the movies on Netflix, rent them from Redbox, or go buy them on Amazon. NOW. When finished, then come back and read
this so you can TRULY appreciate what I have here.
The Tron arcade game was released in perfect harmony with the first movie, Tron. Yes, they appeared in arcades across America when
the movie was released to ad to the hype and publicity. The game itself also makes a nice cameo appearance
in the movie Tron: Legacy. This is a game I wanted. This was one of my grails. You might say, "That's nice, but what about the gameplay?"
Based on scenes from the Walt Disney movie of the same name, this game has four distinct games per level:
• Light Cycles: The player controls a Light Cycle that leaves a blue trail. The joystick controls the direction
of travel and the trigger controls the speed of the bike. The object is force the enemy Light Cycles yellow to run into
each other or the trails while avoiding crashing.
• Grid Bugs: Destroy the Grid Bugs and escape into the I/O Tower
before the timer runs out. The stick controls the movement of your character and the whirlygig controls the direction
of fire.
• Tanks: Destroy all enemy tanks or Recognizers to clear the level. The stick controls the movement of your
tank and the whirlygig controls the direction of fire.
• MCP Cone: Destroy the blocks similar to Breakout and
move your character into the cone to clear the level. A bonus is awarded if you destroy all the blocks. The stick
controls the movement of your character and the whirlygig controls the direction of fire.
The gameplay is pretty cool, but you are now asking me "How did you come across this fine arcade game?"
Let me tell you about it.
Click here to read more about my Tron road trip.
|
|
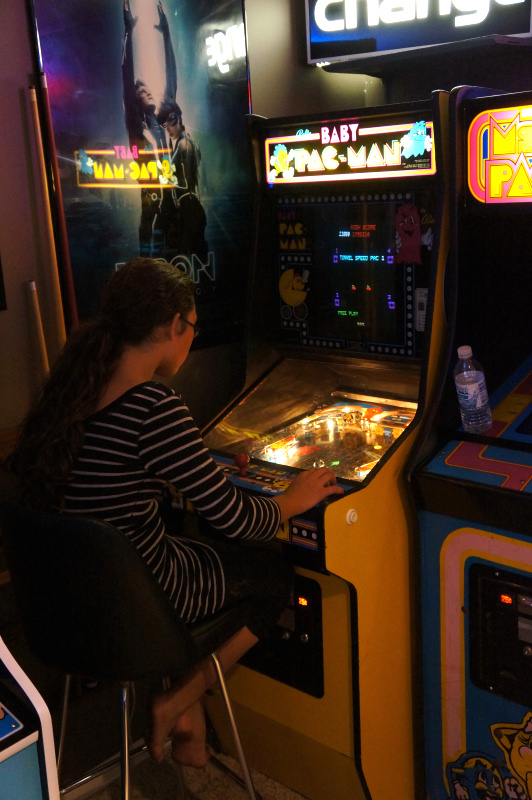
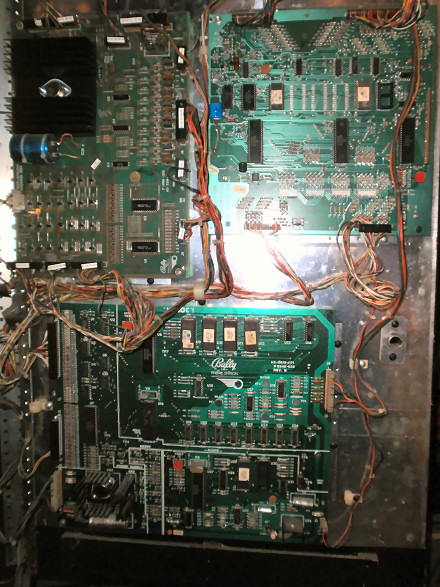
Baby Pacman. This is one cool game. Part video game, part pinball. These games spent more time broken than running, even back
in the day. Fortunately I managed a trade for a working Baby Pacman a year and a half ago. At the time, I knew a bunch of bulbs
weren't working on the playfield. I tried swapping in new bulbs with no luck, that wasn't the problem. For a long time I just played
it like it was. It worked, just not every bulb would light up.
Fast forward to last month. The sound kept cutting in and out on the game, and tweaking the volume pot showed that I just had a bad
pot, nothing more. When I had some collector friends over they just didn't let me hear the end of it. After they left, I decided to pull the vidiot board and replace the pot. After firing it back up,
the sound was nice and loud, really clear now.
While I was working on the game, I decided to try and track down the bad transistors on the lamp driver board once and for all. I found out which ones were bad and ordered new transistors.
I also had a few broken diodes which I found the exact replacements in my parts box. A week later, I received the new transistors and after a few hours of work, I had a fully lit playfield.
It was a gorgeous sight, let me tell you. Over 50 bulb lamps all lighting up in succession like a well timed Christmas light show.
Why it took me so long to get this game to 100%, I have no idea. Maybe I was afraid to get my hands dirty on my first pinball game.
Either way, I'm glad it's all tweaked and looking good now.
In my arcade, Baby may be over in the corner but it certainly is still a show piece in my collection. I'm sure the dazzling light show will attract even more people to play it. After spending some time with this one,
I'm really drooling for my next pinball. Soon, very soon.
|
|
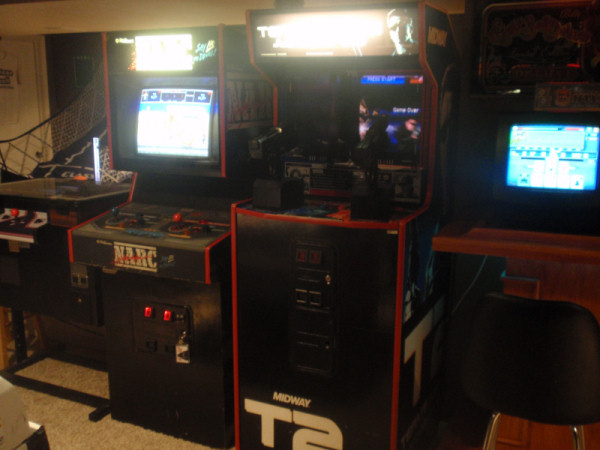 My Terminator game seems to be really popular during game days, with both guns ablazing for a solid 8 hours. I never
hear the recoil on those guns stop when a large group of people are over. Probably because, well, this game is really fun.
However, the Terminator guns use potentiometers for position sensing. Four potentiometers to be exact. I am pretty sure
these are the original pots in this game from the assembly line, a full 20 years later. What happens is position sensing loses
its sensitivity, and can potentially cause the gun cursor to skip around.
My Terminator game seems to be really popular during game days, with both guns ablazing for a solid 8 hours. I never
hear the recoil on those guns stop when a large group of people are over. Probably because, well, this game is really fun.
However, the Terminator guns use potentiometers for position sensing. Four potentiometers to be exact. I am pretty sure
these are the original pots in this game from the assembly line, a full 20 years later. What happens is position sensing loses
its sensitivity, and can potentially cause the gun cursor to skip around.
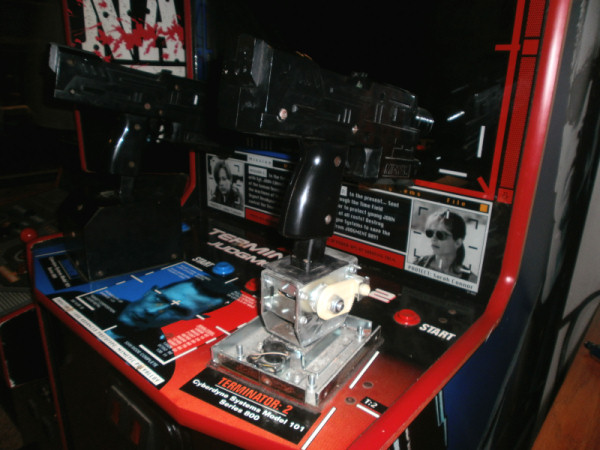
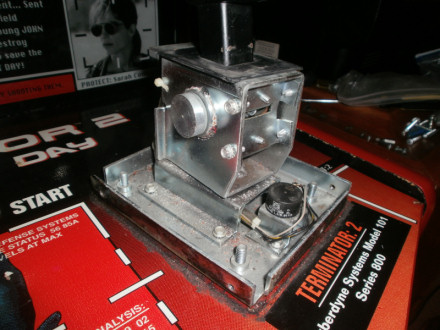
When looking for original replacement pots, Happ Controls decided to buy out all potential stock and sell these pots at $25 a piece.
That's a cool $100, no thank you. So what to do? I find a suitable replacement pot from Radio Shack for $3 a piece. All that has to be done is the
shaft cut and filed down to hook up to the gears. It took $12 and 60 minutes of my time, but all pots have now been replaced in T2. After a recalibration the
gun sensing is spot on.
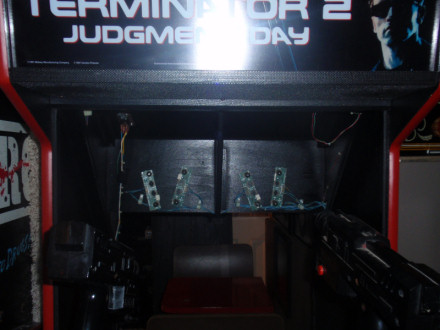
 While working on the T2, I noticed a lamp driver board with 12 transistors. The guns only have 4 lights, so what are the other 8 for? Further research finds
that there is a lamp assembly *behind* the game mirror. I pull out the mirror and there is a lamp assembly, with 16 burnt out lamp bulbs. I order new bulbs and replace them.
After I fire up the game, well what do you know, there is a type of 3D explosion appearing on the mirror assembly when the enemy guns hit you. This is way cool. I didn't even
know that existed and was part of the game, possibly because every T2 game I played over the years also had burnt out bulbs.
I'm really glad this game is all fixed up, with new lamp explosions and new gun positioning sensors. This will make the T2 even more awesome during gameplay.
It's time for Judgement Day.
While working on the T2, I noticed a lamp driver board with 12 transistors. The guns only have 4 lights, so what are the other 8 for? Further research finds
that there is a lamp assembly *behind* the game mirror. I pull out the mirror and there is a lamp assembly, with 16 burnt out lamp bulbs. I order new bulbs and replace them.
After I fire up the game, well what do you know, there is a type of 3D explosion appearing on the mirror assembly when the enemy guns hit you. This is way cool. I didn't even
know that existed and was part of the game, possibly because every T2 game I played over the years also had burnt out bulbs.
I'm really glad this game is all fixed up, with new lamp explosions and new gun positioning sensors. This will make the T2 even more awesome during gameplay.
It's time for Judgement Day.
|
|
 This summer has been lots of fun. I did go on a road trip for a Megatouch Maxx Crown back in July. This was a trip up to Kansas City.
Click here to read about the Megatouch Maxx - Crown Edition road trip.
This summer has been lots of fun. I did go on a road trip for a Megatouch Maxx Crown back in July. This was a trip up to Kansas City.
Click here to read about the Megatouch Maxx - Crown Edition road trip.
However, road trips aren't just for arcade games of course. Twice this summer I drove approximately
3 hours each way for some family fun. Once was for some vacation time, and the other time was for a wedding. For the wedding I drove up to Lake Lotawana in Kansas City. Along the way I stopped
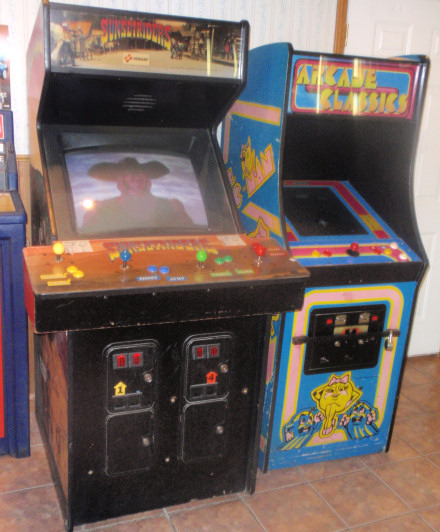
at a roadside gas station to gas up and hit the convenience store. I was a quite surprised to find a 4 player Sunset Riders and
a Ms Pacman turned multicade in the store. Yep, they were in the back, right next to the bathrooms. Set up on quarters for those
lonely travelers like myself. It's a darn shame they turned that Ms Pacman into a 60 in 1 multicade game, but this seems to be happening more and more these days.
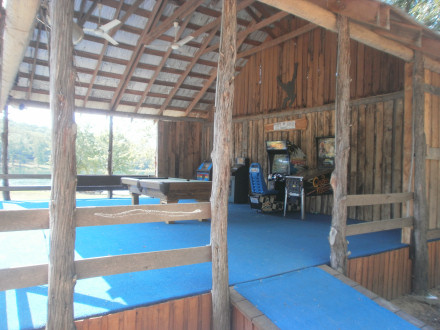
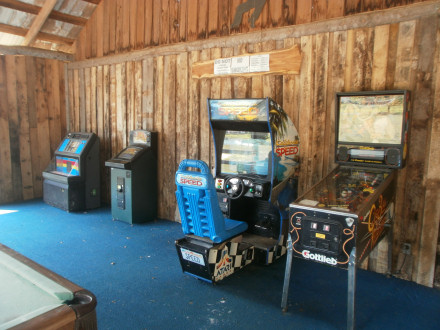
The second trip was down to a campground at Whipporwill Lake. Right up against the lake on the campground was this outside pavillion.
This pavillion contained the following beauties. A pool table, a jukebox, a Touchmaster 8000, California Speed and a Cue Ball Wizard pinball game by Gottlieb.
All of them were working and playable. This pavillion was completely opened up and exposed to the elements, with the exception of the roof.
So there you have it. Pretty cool to still see some of these out in the wild, earning money, and not in some big venue like Chuck E Cheese or Dave and Busters.
|
|
|